The Importance of Product Packaging

Color, design, size, spacing, typography, etc… A lot of aspects go into product packaging and it can mean the difference between success and failure for your product(s) and even your business. Does it grab your potential buyers attention? Does it provide the necessary information to tell the reader what the product is or does? Does it fit your brand? Is it unique to you but remain competitive to your market?

Most consumer purchases are instinctive and reactive, not based on rational or informed decisions. This is good for business if you know how to inspire those snap buying decisions. To be successful there a few things you need to remember.

1. Be Simple
2. Stand Out
3. Trigger an Emotional Response

Designing your product packaging must be focused around your actual product and will vary a lot or a little for each product you offer. If it’s easy to understand by looking at it then less typography is needed on the packaging, for instance. Don’t overload your packaging with to much information either, you want it to remain appealing to look at and to read.

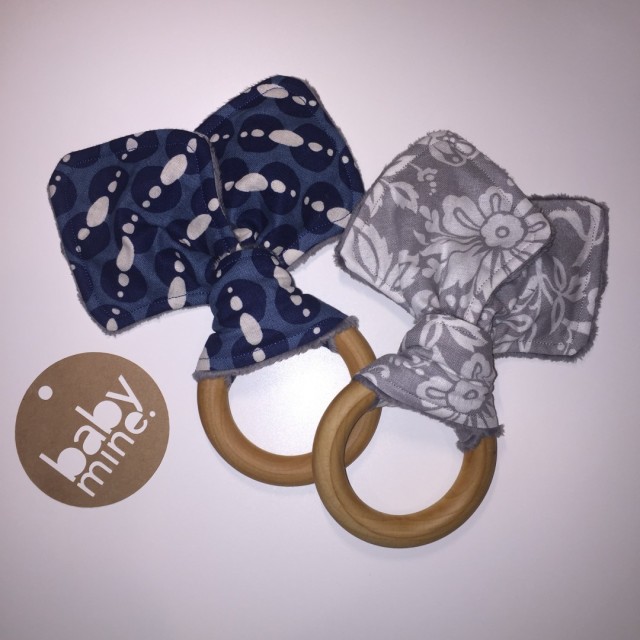
My Product Packaging

For my business I’ve chosen very simple packaging but my products are, for the most part, easily understood just by looking at them. I also sell at craft shows and am readily available to answer questions. If I ever chose to get my products into a retail store I’d want to redo some of my packaging to incorporate a little more information.

pacifierboard3 foldingtag3 circletag3

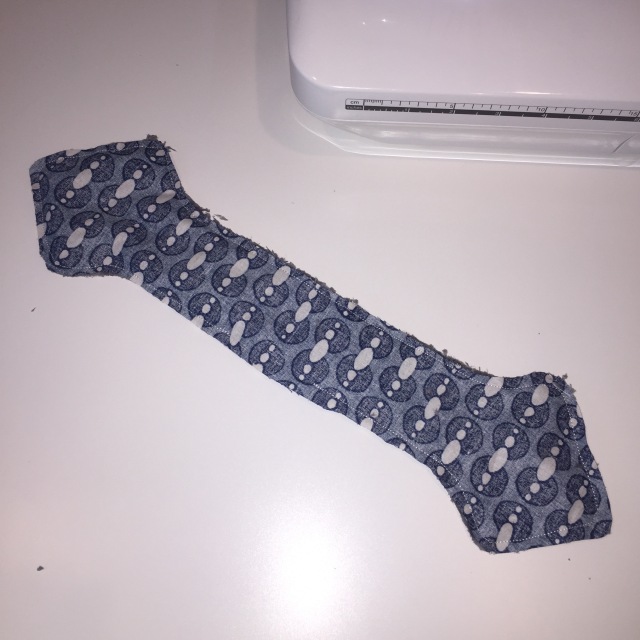
I also have a handmade, rustic sort of theme and feel to my booth design so I went with kraft paper when designing and making my packaging. It fits in with the handmade apple crate displays and burlap decorations very nicely. Because everything is handmade, and because it’s cheaper, I decided to make all of my own packaging which was pretty easy with my Cricut Machine. I highly recommend investing in one for your business. It takes a little bit of time to have everything cut but its saved me hundreds in the the first year of my business alone. I’m also in the process of having a new branding stamp made that includes my website. That was a major mistake on my part and goes back to that impulse purchase thing I talked about earlier… take the time to review everything and even have someone you trust review it as well.

Cricut .SVG Product Packaging Files

Cricut Design Space allows you to upload your own designs to have cut. I have had to make my own .SVG files to use on my Cricut machine but you don’t have to. I sell these files on my Etsy shop and the best part is once you download them you can use them again and again and start saving on your product packaging costs too. Right now I have 3 product packaging styles available and I’m working on a couple more including an empty space “Handmade” tag (probably rectangular). You can see an example of an empty space round product tag in the first image above with the pacifier clip packaging. If you’re interested in having your logo made into an empty space tag like I did for mine just contact me. For now, feel free to take a look at my Etsy shop for product display dimensions and other information.

shop-etsy-button

75 Items You Should Bring With You To Your Next Craft Show

Being my second year as a craft show vendor and having experienced some minor disasters at last year’s shows, and previous shows as a spectator, I decided to make myself a list of items to prepare for all scenarios. I’m going to be ready this year… I know, famous last words…

At my first show I had hanging pegboards at the back of my canopy and halfway through the show one of them fell down. The glue didn’t hold and it separated from the hanger. Lesson learned, don’t use glue to do what nuts and bolts should be doing. It left my booth looking lop-sided and with a third of my product on the ground! I also had a friend who went to an outdoor show and the wind blew so much the whole time that she was chasing her product down the sidewalk the entire time. I’ve been to shows where canopy’s were blowing down, where product was getting rained on, where the electricity went out, and more. This list should help manage some of these disasters and prepare you for the worst.

The original post and the link to download is on my other blog, A Delightful Mess, but you can view the whole post by clicking here. You may also be interested in my list of items to bring to your next outdoor craft show which you can view and download by clicking here.

75 Items You Should Bring With You To Your Next Craft Show →
18 Extra Items You Should Bring With You To Your Next OUTDOOR Craft Show →

Craft Vendors Business Management Printables

This is my second year as a craft vendor at local events. Well, I found myself in much need of some organization so I made these craft vendor business management printables. The original post and the link to download is on my other blog, A Delightful Mess, but you can view the whole post by clicking here.

FREE Craft Vendors Business Manager Includes:

  1. Big Ideas, anything you might think of that you want to work on to include upcoming events, new products or services, advertising and other (2 types).
  2. A Daily To-Do List, also includes things to do at a later date and by the end of the month.
  3. Big Event Plan, for your upcoming events; things to do and remember.
  4. Product Inventory List (2 types)
  5. Shopping Lists (3 types)
  6. Mileage Tracker
  7. Home Office Deductions, this is for your end of year taxes.

See whole post on my other blog and download here →

Handmade Teething Ring Softie Toy Tutorial

These fun, handmade, teething ring softie toys for baby are super easy to make and take less than 30 minutes. This is a hand drawn pattern so please ignore the “not totally roundness” of it. And if you want to alter the design a little so the ears aren’t quite so square you can do so by redrawing it a little. If you don’t have the expertise to make these feel free to contact me about getting one made for you.

You can download the Teether Ring Pattern by clicking here ›

Materials you’ll need:

  • Strip of front fabric 16″x5″ (I used cotton for this tutorial)
  • Strip of back fabric 16″x5″ (I used Minky Dot for this tutorial)
  • Scissors or rotary cutter
  • Cutting mat
  • Pinning needles
  • Coordinating thread
  • Teething ring (you can get these at Alexa Organics)

Instructions:

1. Once you have the pattern downloaded, cut it out. Mind the FOLD line. You will cut the pattern on the fold of your fabric so when you open it up it will look like a bar with 2 triangles on either side.

You will cut, on the fold, pieces for your front and the back. They should look like this when you’re done:

teether1

2. Now, pin your pieces together, right sides together.

3. Sew around the edge with a 1/4″ inseam. I start in the middle the handlebar so it’s a nice straight edge when I turn it and close it. Leave a 2 inch opening to allow for turning the piece right side out. It should look like this:

teether2

4. Turn your softie right side out and top-stitch around the piece, closing the hole as you go. Sorry I don’t have a photo here. I’ll try to get one.

Now just slide it into your ring and pull tight. I’ll also try to get a picture of how to do this in case you can’t figure it out.

teether3

Happy sewing and comment if you have any questions!

signature-line